
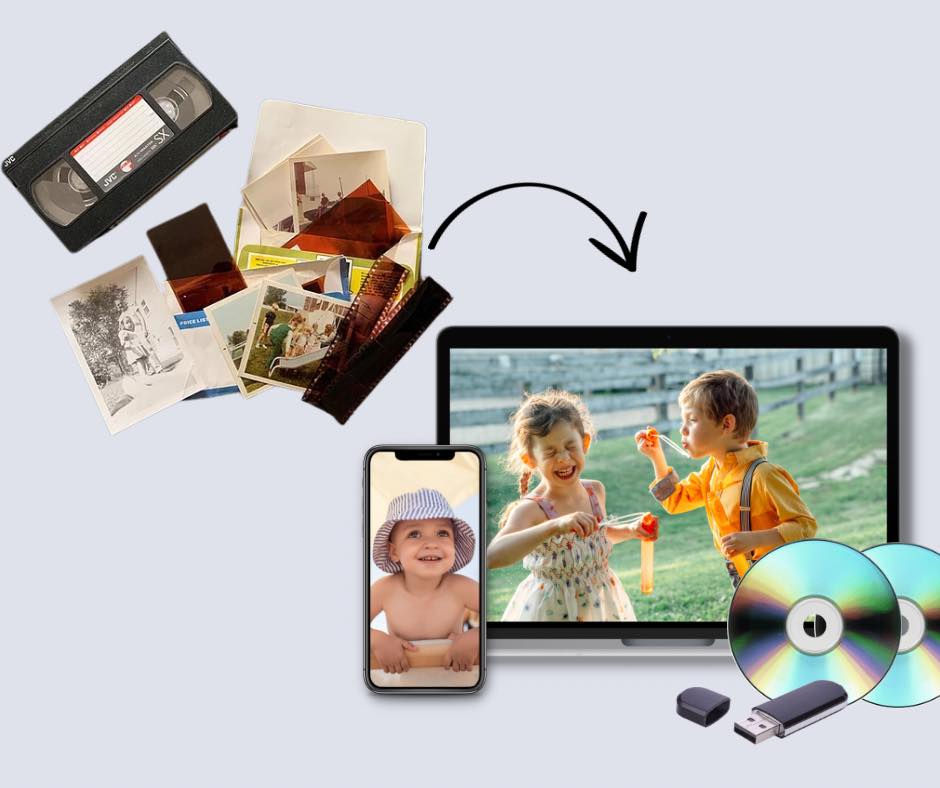
Digitizing your VHS tapes to a digital format is a project worth embarking on. Once digitized, your VHS tapes will be preserved forever and can easily be shared with your friends and family.
There are two different ways to digitize your VHS tapes:
- Using a digitizing company
- Doing it yourself
1. Using a digitizing company
Using a digitizing company is the easiest way to digitize your tapes, and sometimes it will be the cheapest way as well. There a few big digitizing companies in the United States that offer this service and have good reputations. When choosing a digitizing company, you are going to want to look at their quality, reputation, ease of use, and price. For more on choosing a digitizing company, please read Why Choose The Digitize Center?
2. Digitizing your VHS Tapes Yourself
Digitizing your VHS tapes yourself can be done. You will need some supplies to complete the project, along with some computer expertise and plenty of hours of your time. To get started, let's look at the equipment and supplies you will need.
Equipment and Supplies Needed
VCR
The first thing you are going to need is a VCR. Before you go digging through your basement to find your old VCR, there are a couple of things worth considering:
- The VCR should be in a good working order.
- The VCR should have been properly maintained throughout its lifespan.
- The VCR needs a thorough cleaning before being used.
- The VCR should be a later model VCR with S-video output, auto-tracking, and Hi-FI Progressive Scan.
Selecting the appropriate VCR is more important than you might think. If you place your tapes in a old worn out VCR that was never properly maintained, the VCR can actually erase the contents of your tape without you even knowing it. Once erased, you will not be able to get the content back. In addition, you want to make sure the VCR you choose has the later style of outputs and features so you will get a high quality digitization. This means you want a VCR with an S-video output on the back, and a VCR that has auto-tracking and HiFi. You can get away with using a VCR with the standard yellow, white, and red RCA cables, but the quality of your digitization will suffer.
Estimated Cost: $50-$100
A Computer
The next thing you will need is a computer that can handle the digitization. This computer will be connected to your VCR via a capture card. Now the computer you use must meet some certain requirements in order to handle the workload of the digitization project. It should have the following minimum requirements:
- 2 TB or more of hard drive space on a SSD, not HDD.
- 8 GB or more of RAM
- A modern CPU.
- Either a dedicated graphics card or a powerful onboard graphics card built into the CPU.
These minimum specifications are important because the act of digitizing a VHS tape requires significant computing power. If you skimp out on the computer, the quality of your digitization will not only suffer, but the process itself will take much longer to complete.
Estimated Cost: $300-$600
Capture Card
In order to connect your computer to the VCR, you will need a capture card. The capture card you choose is one of the most important aspects that will affect the quality of your digitization project. A cheap capture card will make your digitized copy look terrible and will likely affect the quality of both the video and the audio. So when selecting a capture card to use, spend the extra money to get a quality capture card.
The capture card must meet the following minimum specifications:
- RCA and S-video ports included
- Up to 720p or 1080p quality
- USB Connectivity
Estimated Cost: $100-$300
Software Needed
Now that you have the equipment you need, you will need some software to perform the digitization on your computer. There are many options available but just like the equipment, the software you choose will affect the quality of your digitization project.
Capture Software
This software will record the contents of the VHS tape and save it to your computer. There are many options available here, some that are free and some that have a cost. A good free option is OBS, which is short for Open Broadcast Software. You will need to configure the software to handle a capture of an analog VHS tape, and instructions for doing that can be found on their website.
We here at The Digitize Center use our own in-house software for capturing VHS content.
Encoding Software
This software takes the recorded content of the VHS tape and encodes it into a format that can play on modern devices. In addition, this software will compress the recorded VHS tape into a much more reasonable size. Again, there are many options available here but I would recommend using Apple Compressor ($49.99).
We here at The Digitize Center use our own in-house software for encoding VHS content.
The Process
Now that you have the necessary equipment and software, you are ready to begin digitizing your tapes. The process is quite simple and will vary slightly depending on which software you are using, but the general steps are as follow:
- Plug everything in including the VCR and Capture Card.
- Open your recording software and begin recording content from the capture card. (Make sure you are recording in a lossless and raw format to get the most quality out of the tape.)
- Start the VHS tape in the VCR.
- WAIT for the entire VHS tape to play. VHS tapes can be up to 6 hours long. You can only digitize one tape at a time on one computer.
- When the tape has finished playing, stop the recording in the recording software.
- Trim the recording in the recording software in a lossless format, and save the trimmed version.
- Your trimmed file can be very large depending on how long the VHS tape was. For example, a 2 hour VHS tape recorded in a lossless format can be over 200 GB in size. The next step will be to encode and compress the video.
- Use your Encoding and Compressing software to encode the video to a modern format, such as mp4. The encoding process can take several minutes or hours to complete depending on the specifications of your computer.
And that's it! Once your encoding software has finished compressing and encoding the video you are all done for that tape and can move on to the next one.
Digitizing is not as easy as it sounds and does require a time commitment. As mentioned earlier, only one tape can be digitized at a time on one computer as digitizing requires a ton of your computer's resources. The time required to digitize one tape is usually the duration of the tape + 1-2 additional hours. In addition, you should always make sure you are choosing the HIGHEST quality presets in all the software you are using. This will ensure the digitized copy will be of excellent quality and will look good on modern devices.
Important Safety Note: Never leave a VCR unattended when plugged in or running. There is a risk of an electrical fire from old electronics.